
Before you start
You need:- A 6PS Studio account. You can try the editors without one, but you need to sign in to publish.
- Either a 3D model file, or a set of 360° room photos.
Create a project
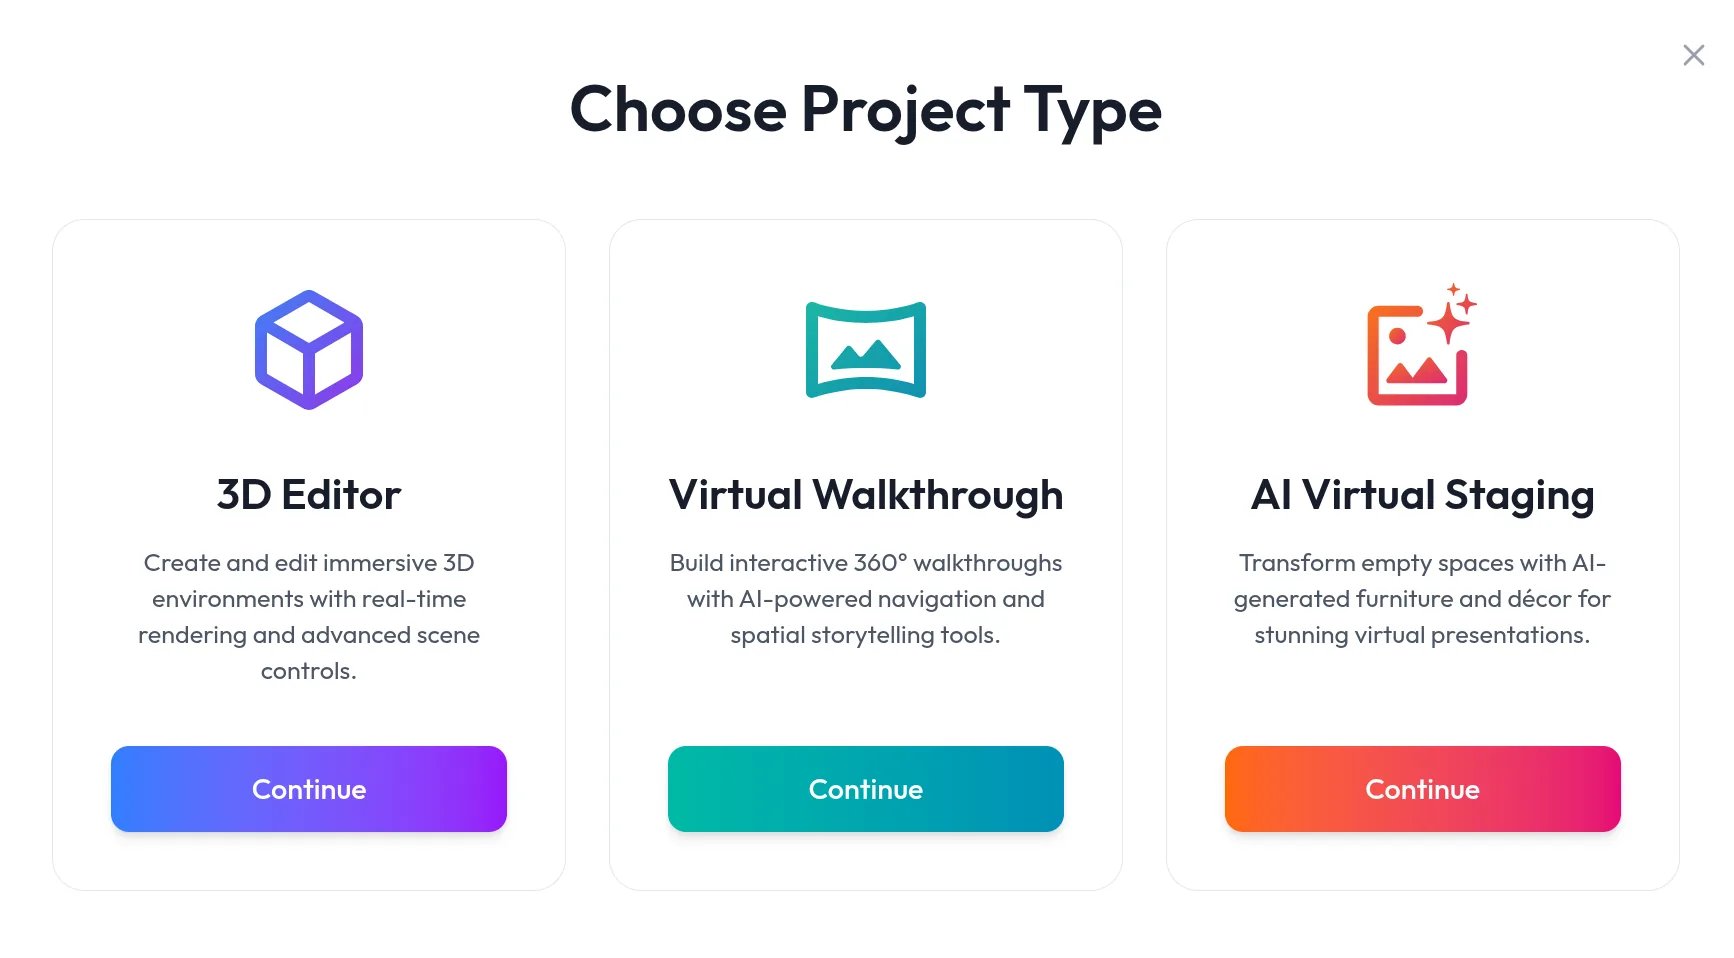
Click Create in the top bar. The Choose Project Type dialog opens:- 3D Editor for a 3D model.
- Virtual Walkthrough for a tour built from room photos.
- AI Virtual Staging for editing a single image with AI.
Set it up
- 3D model
- Walkthrough
- Drag your model file onto the editor, or click to browse. See Uploading models for the formats you can use.
- Frame the model in the viewer, then click + in Positions to save that view. See Camera positions.
- Adjust the model, background, and lighting if you like. See Model settings and Scene and environment.
Publish
1
Name it
In Scene info, enter a Name and, if you like, a Description. Publishing needs a name.
2
Choose who can see it
Pick Public, Unlisted, or Private in the Visibility selector. See Visibility and ownership.
3
Publish
Click Publish and confirm. Studio prepares and uploads your project while a progress bar runs. See Publishing a model or Publishing a walkthrough.