Two panels in the right sidebar control how a walkthrough behaves. Scene Settings applies to every 360° scene in the walkthrough. Room applies to the room you have selected.
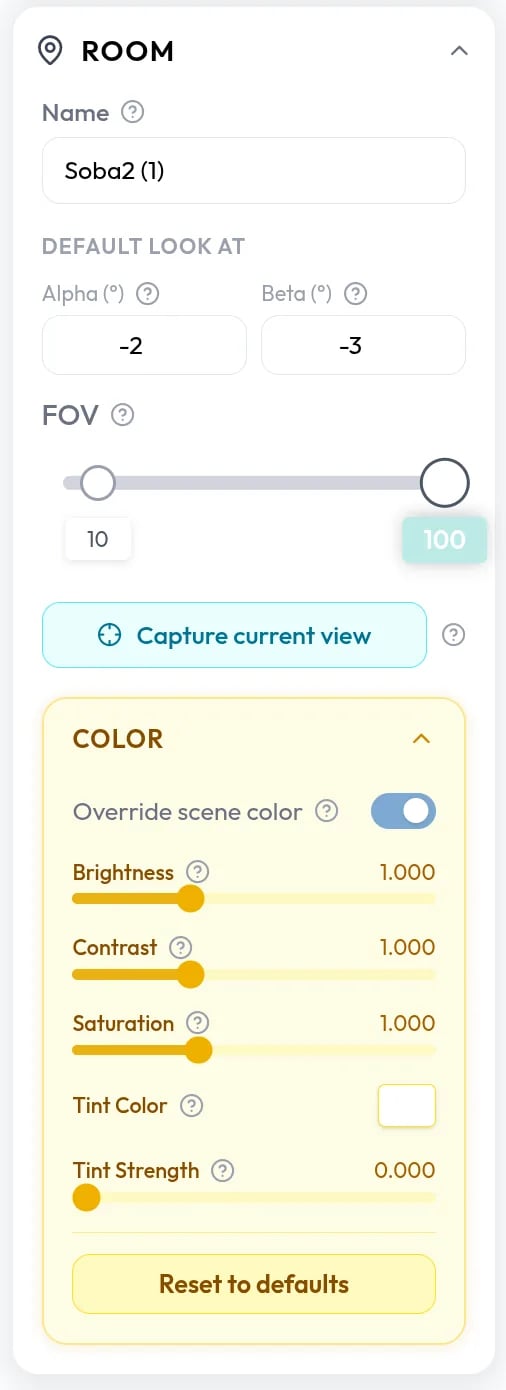
The Room panel showing the room name, default look-at fields, the FOV slider, and the Color drawer with the override switch

Naming rooms

The Name field in the Room panel sets the name visitors see in navigation. New rooms take the image file name, so rename them to something like “Kitchen”.

The opening view

Default look at sets the direction a room faces when a visitor enters it. Select the room and let it load, turn and zoom the view in the viewer, then click Capture current view. If another room is still showing, the panel reads Navigate to this room first. You can also type the values:

Camera behavior

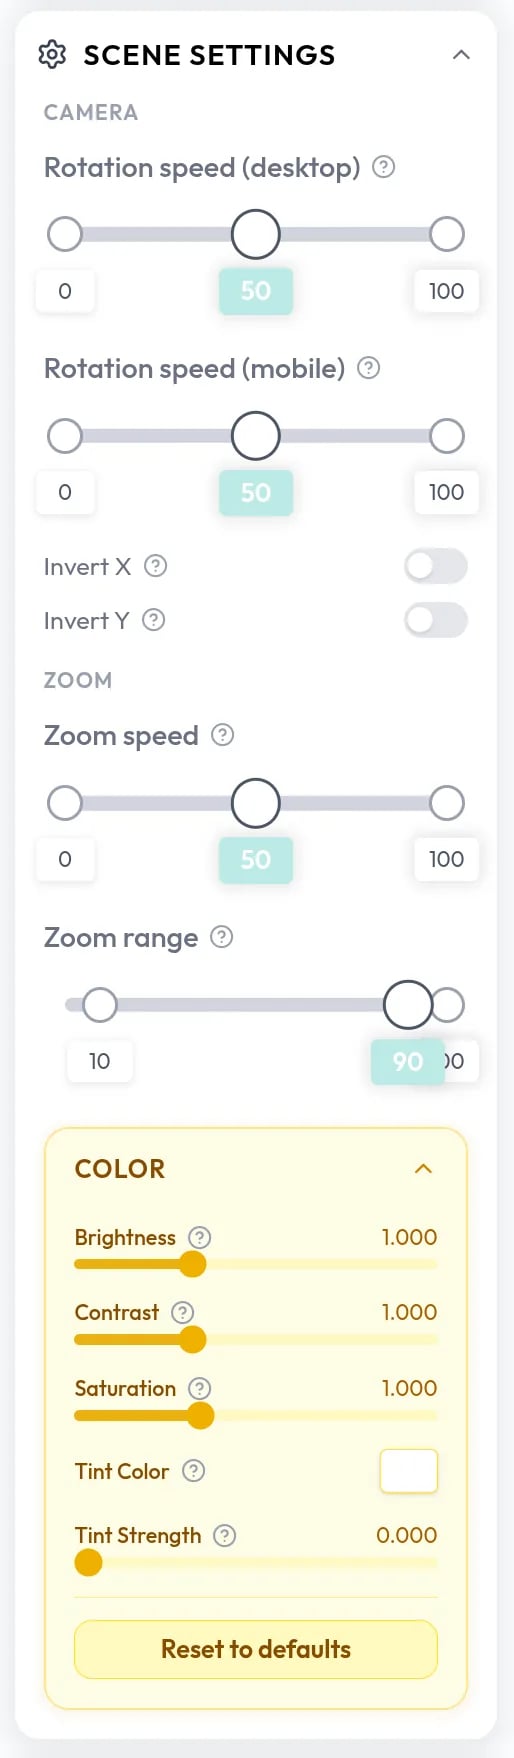
The Scene Settings panel with rotation speed sliders, Invert X and Invert Y switches, Zoom speed, and the Zoom range slider
Scene Settings sets how visitors move around in every 360° scene: Rotation speed for desktop and mobile, Invert X and Invert Y, Zoom speed, and Zoom range (minimum, default, and maximum).

Color adjustments

The Color drawer at the bottom of Scene Settings adjusts the look of every room’s photo at once.

Per-room overrides

One photo can be darker or cooler than the rest. Open the Color drawer in the Room panel and turn on Override scene color. The room now uses its own brightness, contrast, saturation, and tint instead of the scene’s, starting from the scene’s current values so nothing jumps. Turn the switch off to return the room to the scene’s Color settings.