
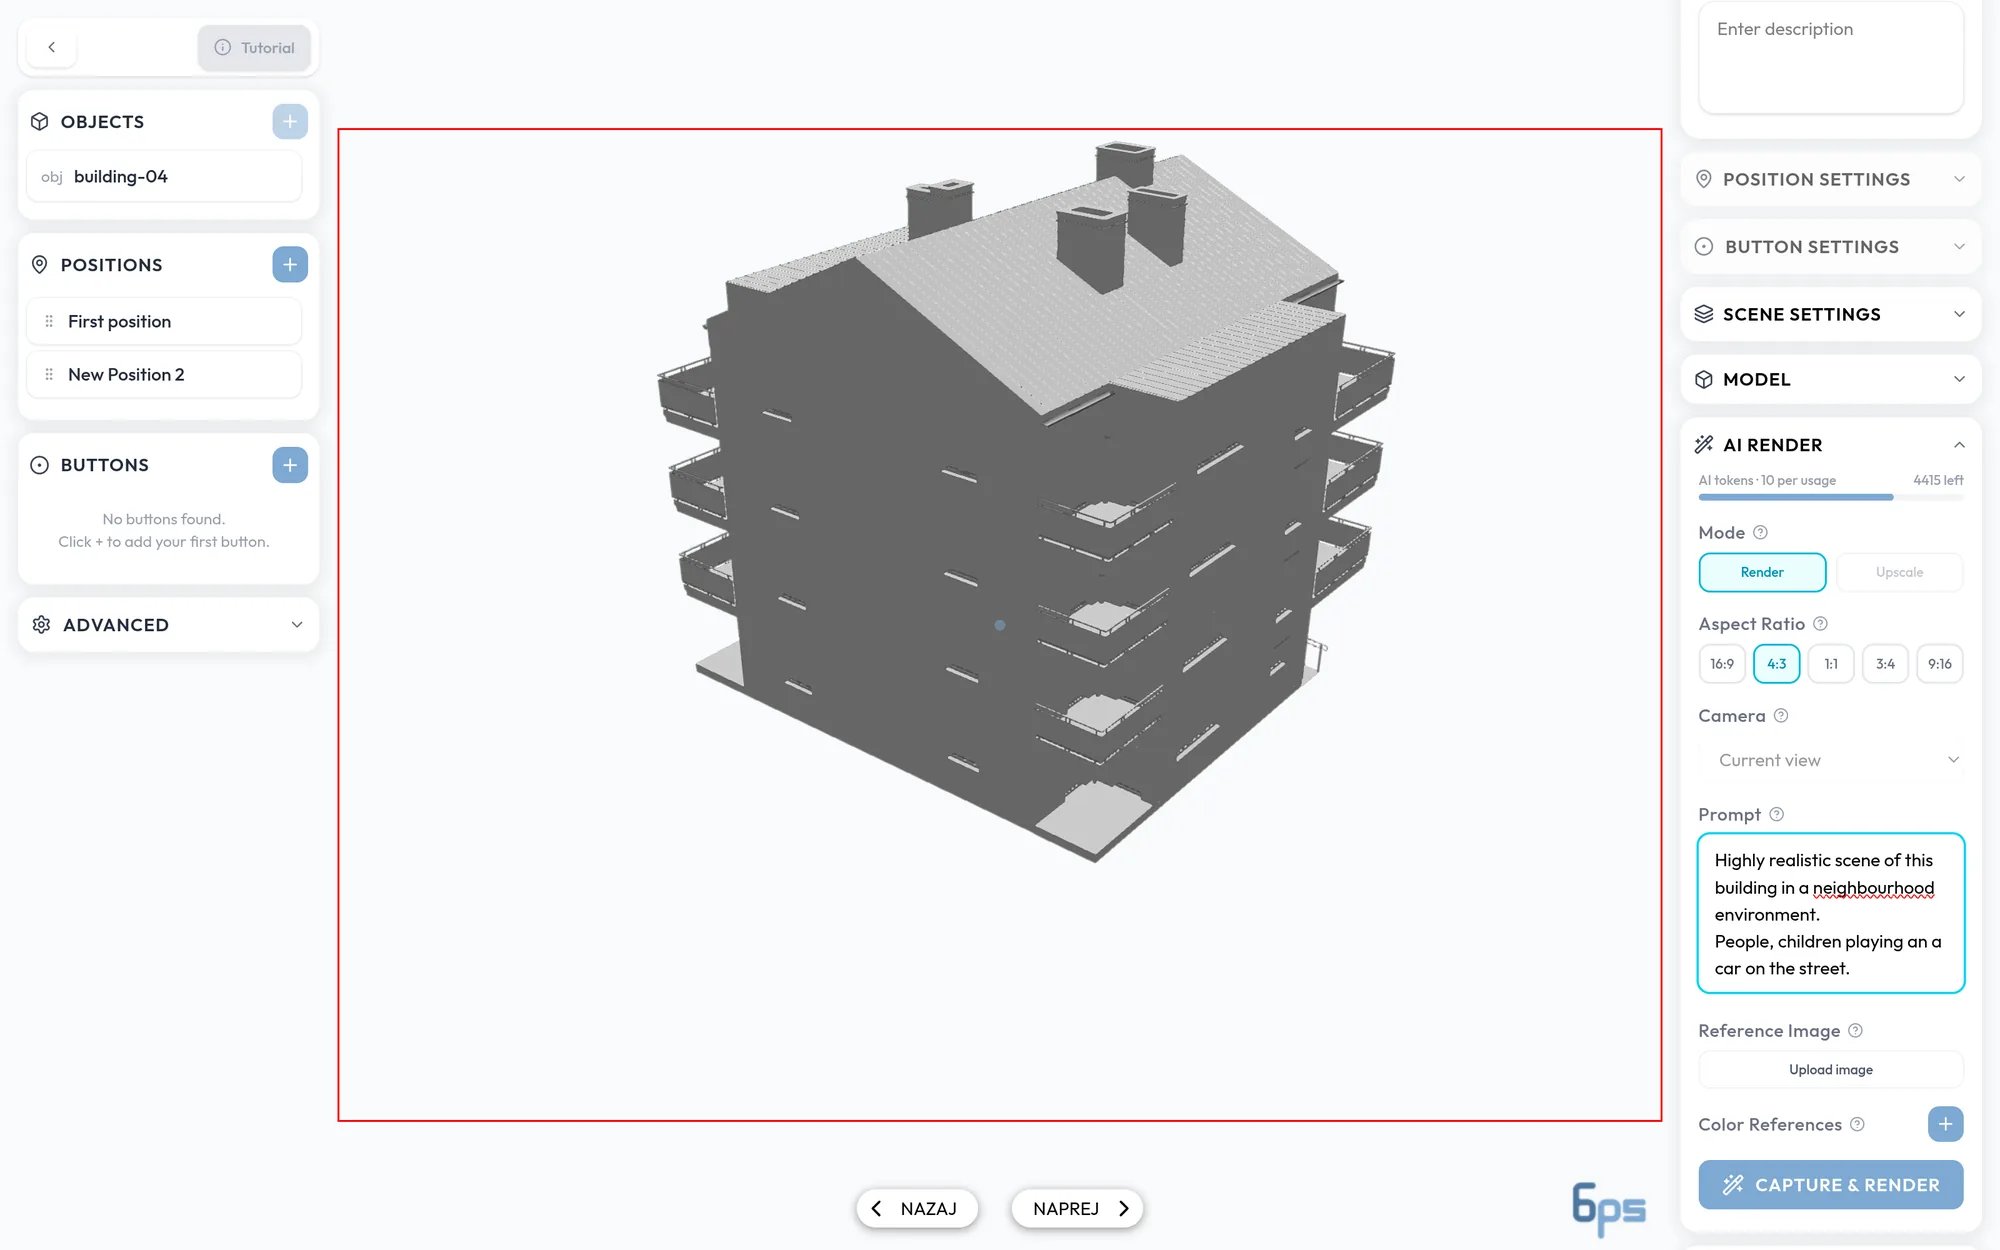
Before you start
- Frame the view you want. AI Render uses the view exactly as it appears on screen.
- Each render and upscale uses AI tokens. The panel shows the cost per usage and the tokens you have left.
Render an image
1
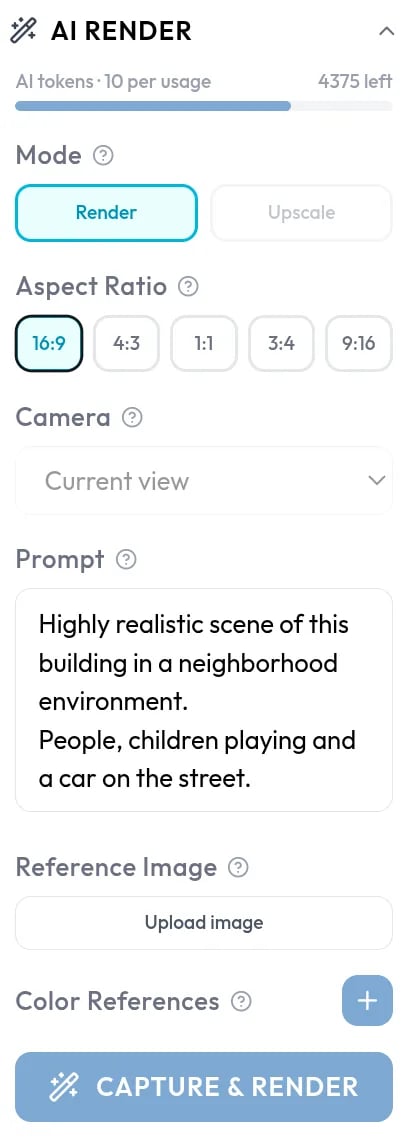
Choose an aspect ratio
Pick 16:9, 4:3, 1:1, 3:4, or 9:16. A frame in the viewer shows what will be captured. There is no default, so you need to pick one.
2
Describe what you want
In the Prompt box, say what should change in the captured view, such as materials, lighting, or furnishing.
3
Add references (optional)
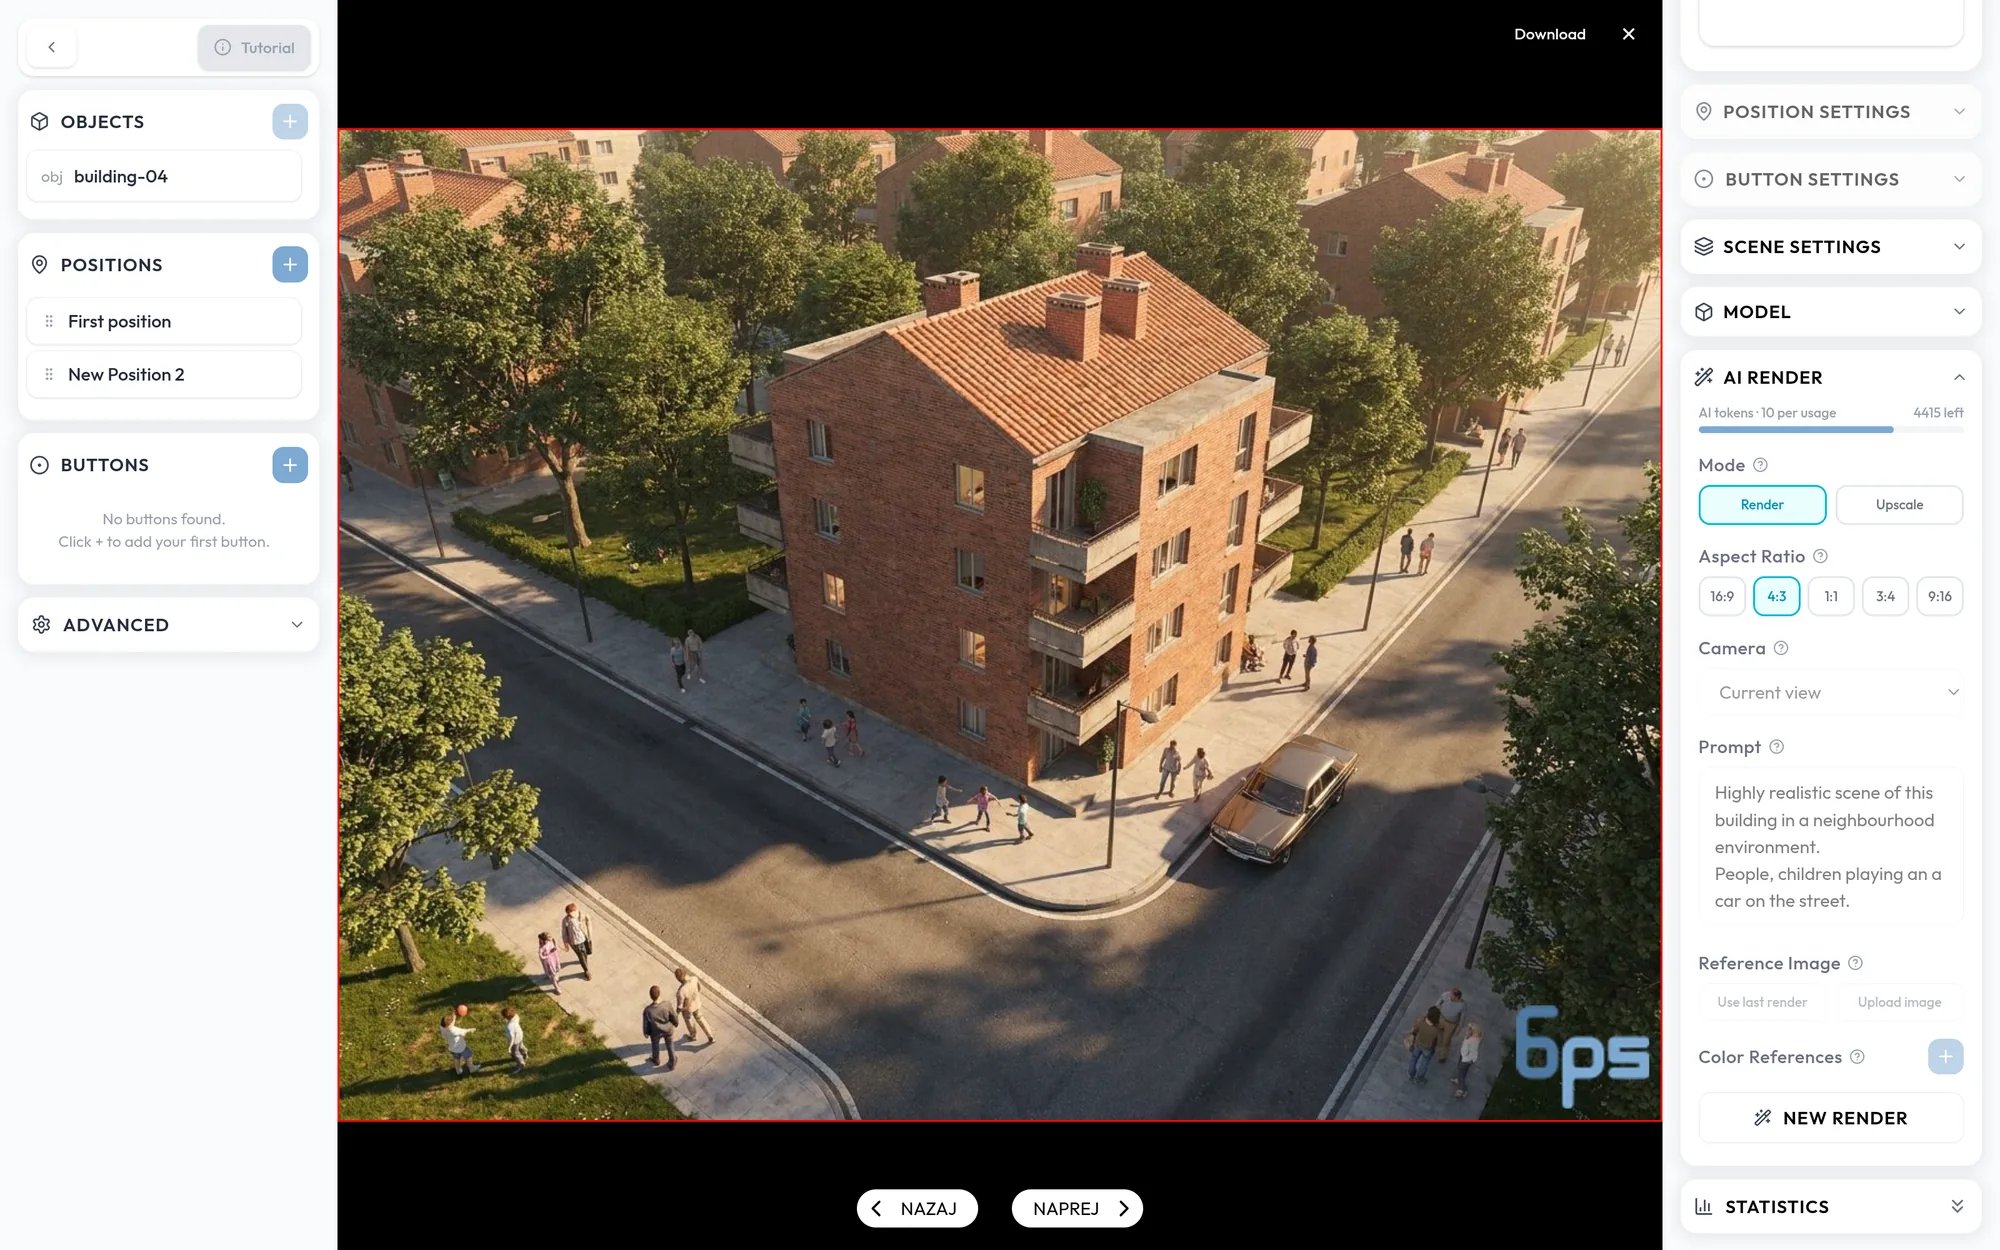
Add a reference image and up to four colors, as described below.
4
Render
Click Capture & Render.
Reference images
Exact colors
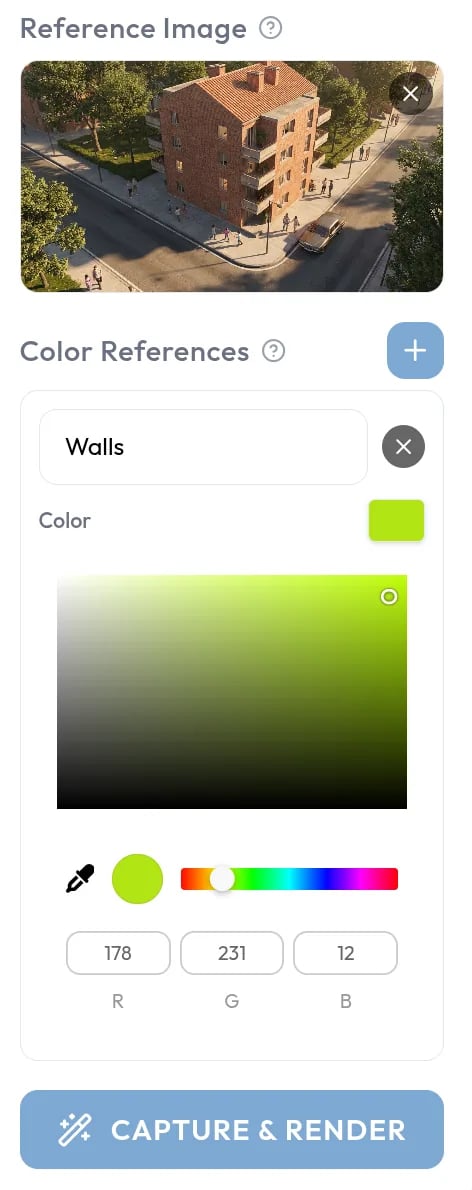
Color references pin down exact colors, which is more reliable than describing them in words. Click +, say what the color is for, such as “walls”, and pick the color from the swatch. You can add up to four.Upscale a render
After your first render, select Upscale in the Mode selector and click Upscale Render. It enlarges and sharpens your most recent render and needs no prompt.AI output is watermarked on the free plan. The watermark is applied when the image is shown, so it disappears from your existing results as soon as you move to a plan without one.