Adding a scene
Click Add in the Scenes list and choose 360° Image, Flat Image, or an empty Scene. If you drop an image before creating any scene, Studio makes the scene for you.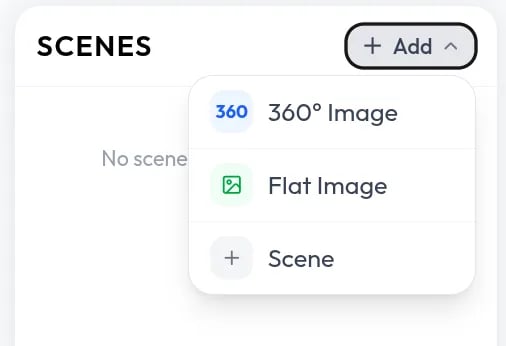
Adding rooms
Open a scene and click Add room to add a 360° Image or Flat Image. A scene can mix both. Adding a 360° room to a scene that holds only flat rooms turns it into a 360° scene. A scene opens on its first room, and rooms are listed in the order you added them. New rooms take the image file name. Rename them in Room and scene settings.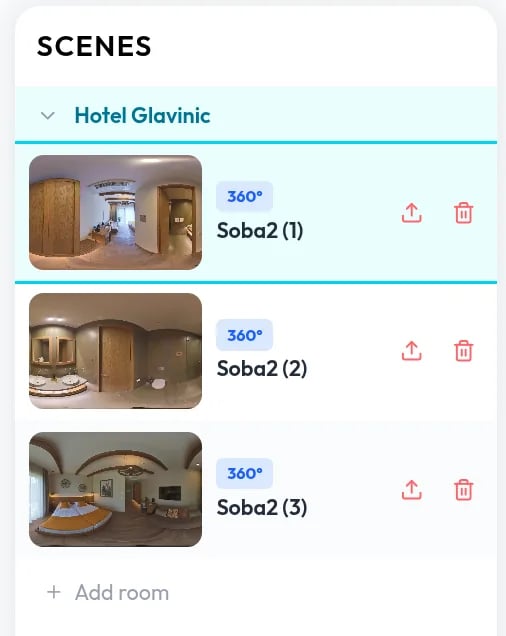
Replacing and deleting
- The upload icon on a room card swaps the photo. The room keeps its name, buttons, and settings.
- The trash icon removes a room or a whole scene. The last room of a scene cannot be deleted, so delete the scene instead.
Connecting rooms
A Room Transition button takes the visitor to another room.1
Add a button
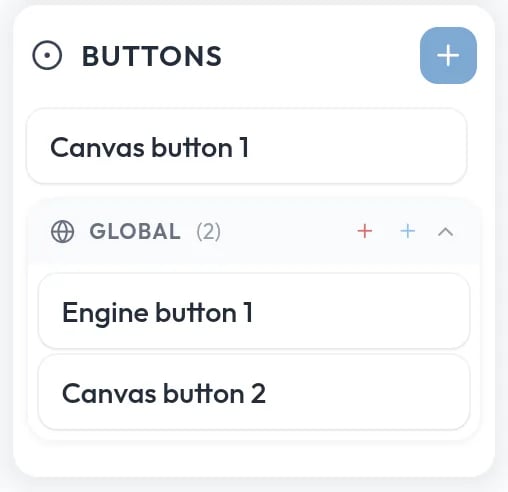
Select the room where the button should appear and click + in the Buttons panel.
2
Set the type and destination
Set Button Type to Room Transition and choose a room under Go to room. Rooms in other scenes are listed too.
3
Position the button
Drag it to a doorway in the viewer, or set Horizontal (-180 to 180 degrees) and Vertical (-90 to 90).
Other buttons
The Icon with Text and Frame types work as in the 3D Editor. See Hotspots and buttons. The walkthrough editor adds Background color and Text color. The Global section under the Buttons panel holds buttons that appear in every room. In 360° scenes it can hold 360° buttons and on-screen buttons. Flat scenes support on-screen buttons only.