
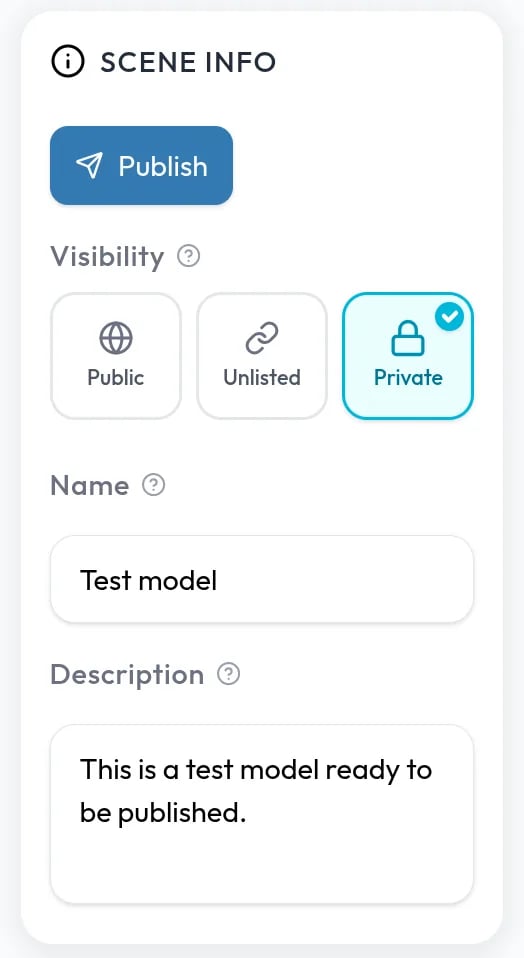
Before you publish
- Sign in. You can build in the editor without an account, and Studio asks you to sign in when you click Publish.
- Have an active plan. Without one, the publish dialog offers a Plan button.
- Add at least one model.
- Fill in Scene info. Enter a Name, which publishing requires, and optionally a Description. Visitors see both. Set Visibility to decide who can open the model. See Visibility and ownership.
Publish
1
Click Publish
Click Publish at the top of Scene info. The dialog shows a thumbnail taken from your first camera position, so put your best view first. See Camera positions.
2
Pick where it lives
If you belong to a team, use Save as: to choose Personal or your team’s name. See Personal and team ownership.
3
Continue
Click Continue. When the upload finishes, the share options appear. If publishing fails, the dialog shows the reason so you can try again.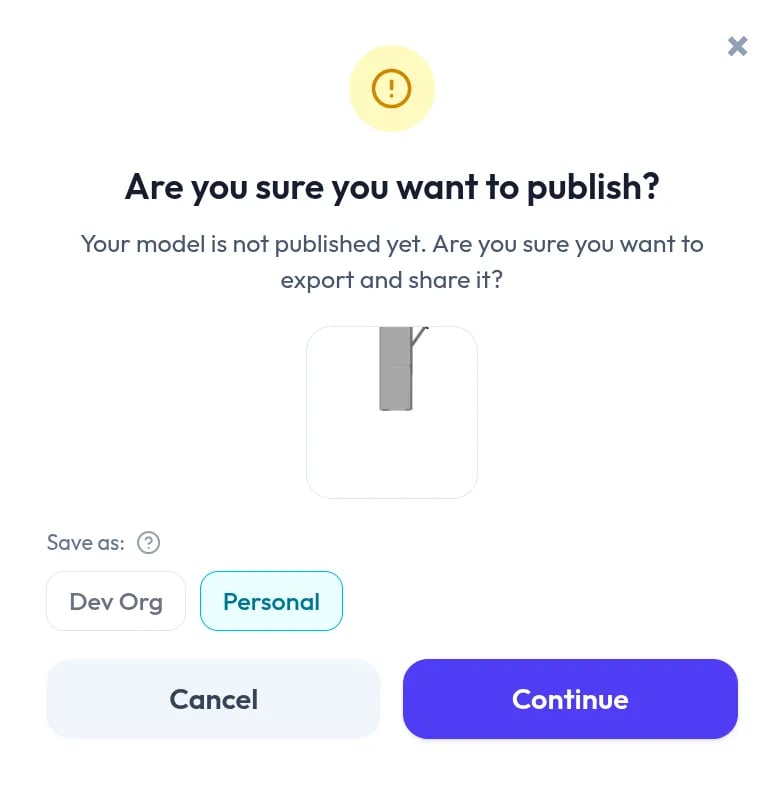
Share options
When your model is live, Export options shows:- View model online
- A QR code and the Share Link
- Embed as iFrame, available on the Pro plan