
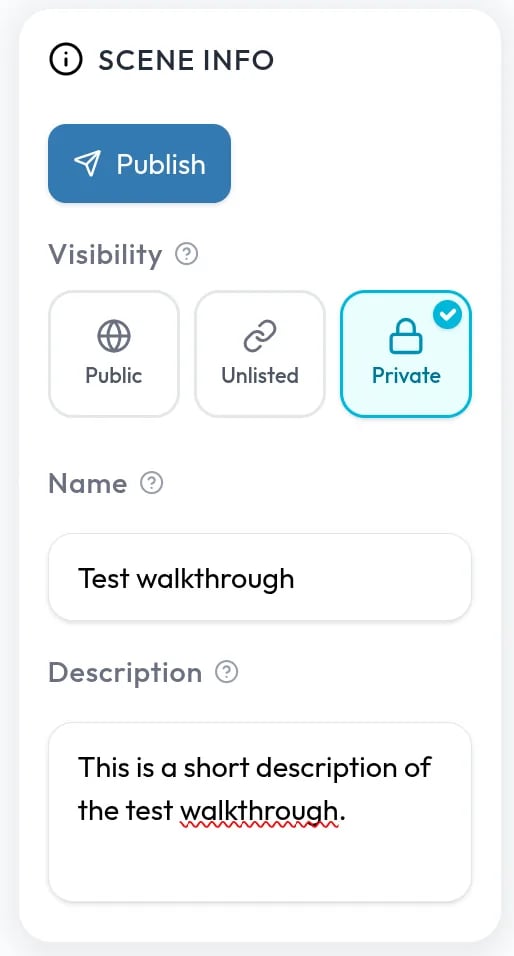
Before you publish
- Add at least one image.
- In Scene info, enter a Name, which publishing requires, and optionally a Description. Visitors see both. Set Visibility to decide who can open the tour. See Visibility and ownership.
Publish
1
Click Publish
Click Publish at the top of Scene info. If you are signed out, a sign-in window opens first.
2
Confirm
If you belong to a team, choose Personal or your team’s name under Save as:. See Personal and team ownership. Click Continue.
3
Wait for every room
The panel shows each room’s stage: Compressing, Processing 360° for 360° photos, Uploading, and Done. The work happens in your browser, so keep the tab open until it finishes.
4
Share it
Click Done to open the share options.
Share options
Publish options opens when the walkthrough is live:- View the walkthrough
- A QR code and the Share Link
- Export iframe, available on the Pro plan